My Little Pony Drawing
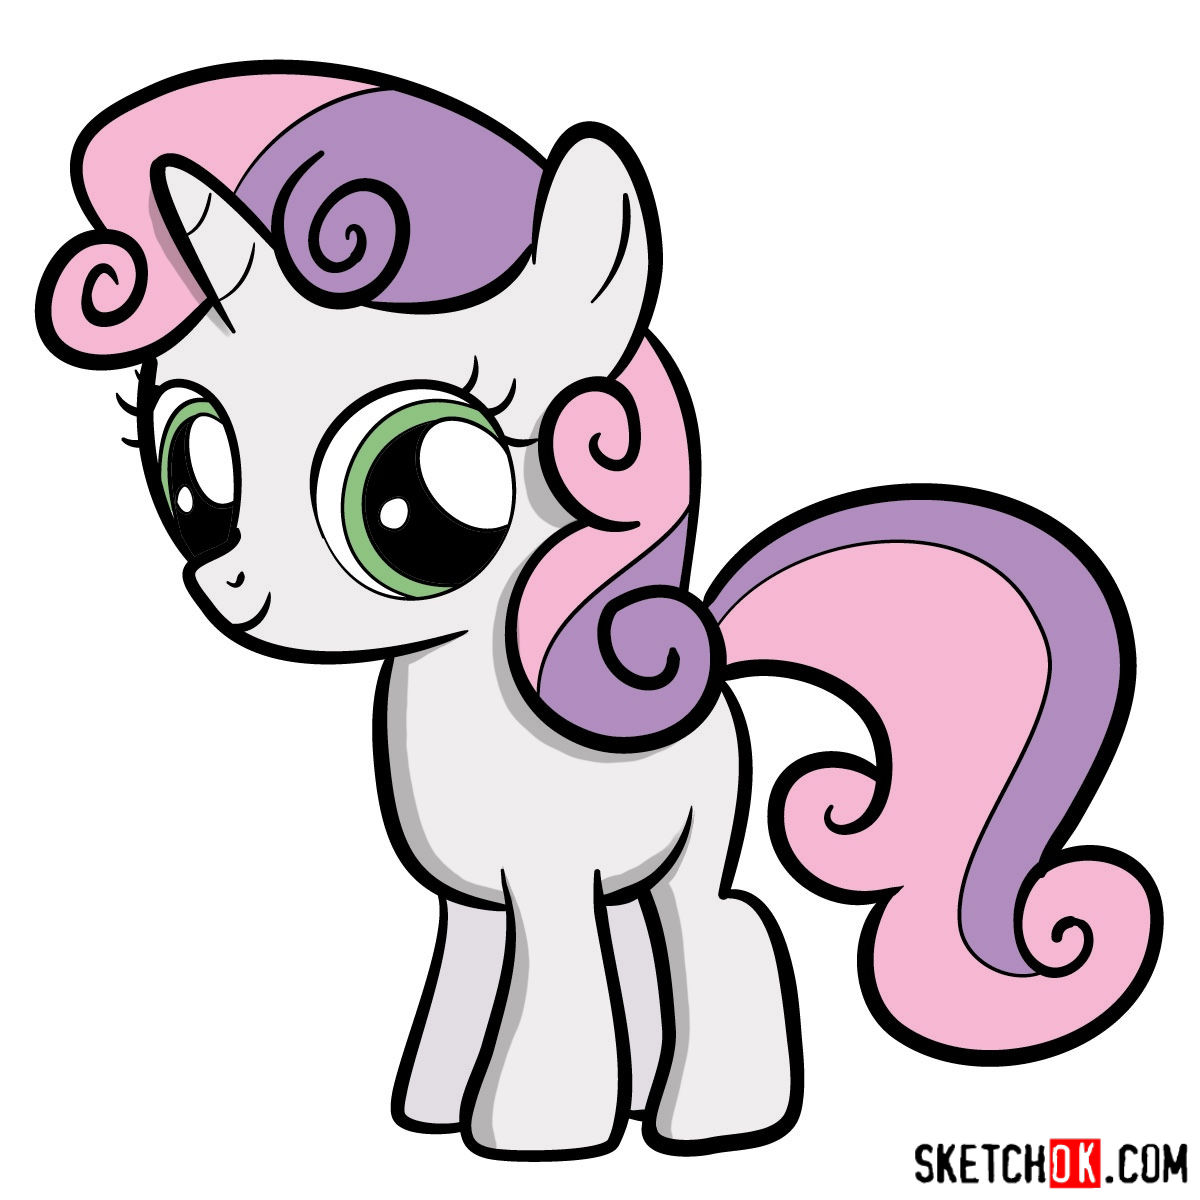
Creating a My Little Pony drawing is a joyful way to bring the colorful world of Equestria to life on paper, whether you are a nostalgic fan or a new admirer of these charming ponies. This gentle art form invites you to explore soft pastels, flowing manes, and expressive eyes while practicing simple shapes and confident lines. In the following sections, you will find practical guidance, creative ideas, and useful tips to develop your own delightful pony illustrations.
Getting Started with Basic Shapes
When you begin a My Little Pony drawing, it helps to start with simple geometric forms that act as a friendly guide for the overall pose and proportions. Lightly sketch a circle for the head, an overlapping oval or egg shape for the body, and small cylinders for the legs, tail, and neck. These basic shapes keep your composition balanced and make it easier to adjust the stance before you add details.
Remember to keep these initial lines very light, almost like a faint blueprint, so you can easily erase or modify them later. Think of this stage as building a gentle skeleton for your pony, ensuring the head tilt, leg positions, and tail flow feel natural and stable. With a relaxed approach to these foundational shapes, you set the scene for a clean and charming illustration.

Tips for Sketching the Head and Face
The head is the heart of any My Little Pony drawing, because it carries the expression, cuteness, and personality of the character. Start by refining the initial circle, adding a slightly flattened bottom for the chin and a small curve for the cheek to give a gentle, friendly silhouette. Then place the eyes about halfway down the face, leaving room for the forehead and muzzle so the features feel balanced and large.
For the facial features, consider these simple points to bring your pony to life:
- Large, soft eyes with a clear highlight that makes them sparkle.
- Gentle, rounded muzzle with small nostrils and a subtle curve for the mouth.
- Expressive ears placed at the top of the head, slightly tilted to show curiosity or calm.
Designing the Mane and Tail
The mane and tail are where your pony truly shines, turning simple outlines into flowing works of art. To capture their signature swirls and volume, imagine soft strands radiating from the top of the neck and cascading down in gentle waves. You can experiment with wavy, zigzag, or spiraled patterns, keeping the lines smooth and rhythmic to suggest movement without overwhelming the drawing.
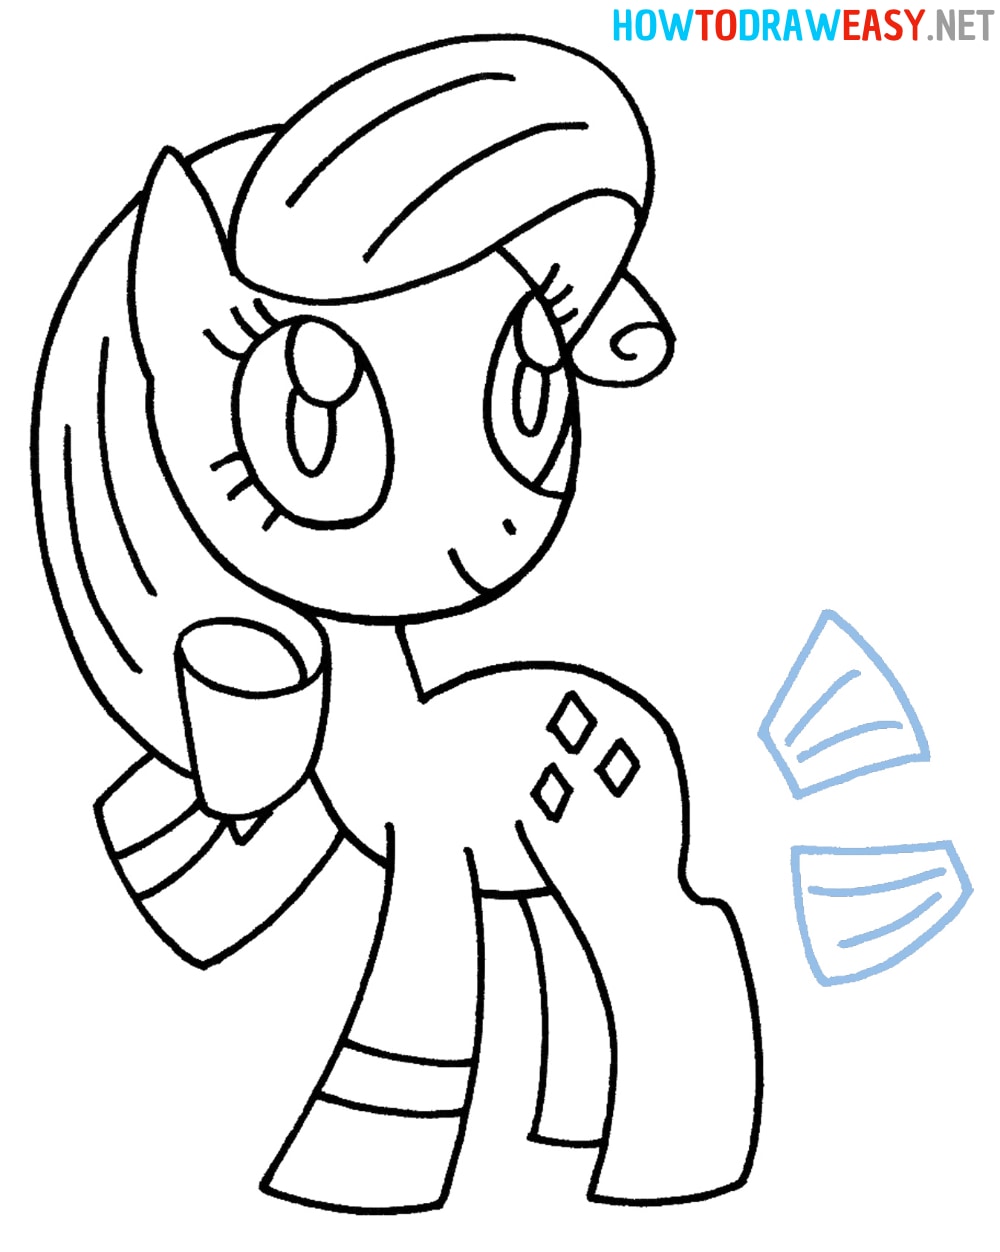
When drawing the tail, think of it as an extension of the pony’s personality, whether it is held high with confidence or swished playfully behind them. Add layers of strands that overlap slightly, and vary the thickness of each line to create depth and a sense of fluffiness. A few loose, quick strokes around the edges can suggest motion and give the tail a lively, magical feel.
Choosing Colors and Shading
Color is the soul of a My Little Pony drawing, so choose a palette that reflects the character’s mood and magic. You might stick to soft pastels for a gentle look, or add brighter tones for a bold, energetic vibe. Start with a light base layer and gradually build up stronger hues, blending carefully so the transitions feel smooth and dreamy.
Shading plays a key role in giving your pony form and dimension. Use a slightly darker tone on areas where light naturally recedes, such as under the neck, along the legs, and beneath the mane, while keeping the main surfaces lighter. This simple contrast will make your illustration appear more three-dimensional and full of life.

Capturing Personality and Expression
One of the most rewarding parts of a My Little Pony drawing is bringing out the unique character of each pony through subtle details. Think about whether your pony is playful, gentle, wise, or adventurous, and let that idea guide the shape of the eyes, the curve of the mouth, and the tilt of the head. A slightly raised eyebrow or a soft smile can turn a simple sketch into a memorable friend.
You can also add small touches like glittering stars around the eyes, delicate patterns on the flanks, or themed accessories that match the pony’s special talent. These details do not need to be complex; even a few carefully placed lines can suggest magic, sparkle, and charm. Let your imagination run freely while keeping the overall look balanced and clear.
Exploring Different Styles and Themes
Your My Little Pony drawing can follow the classic style with rounded features and cheerful expressions, or you can experiment with a more modern, dynamic look that uses sharper lines and dramatic poses. Try sketching action scenes where the pony is galloping through clouds, celebrating with friends, or casting a gentle spell, and use dynamic angles to add energy to the composition.
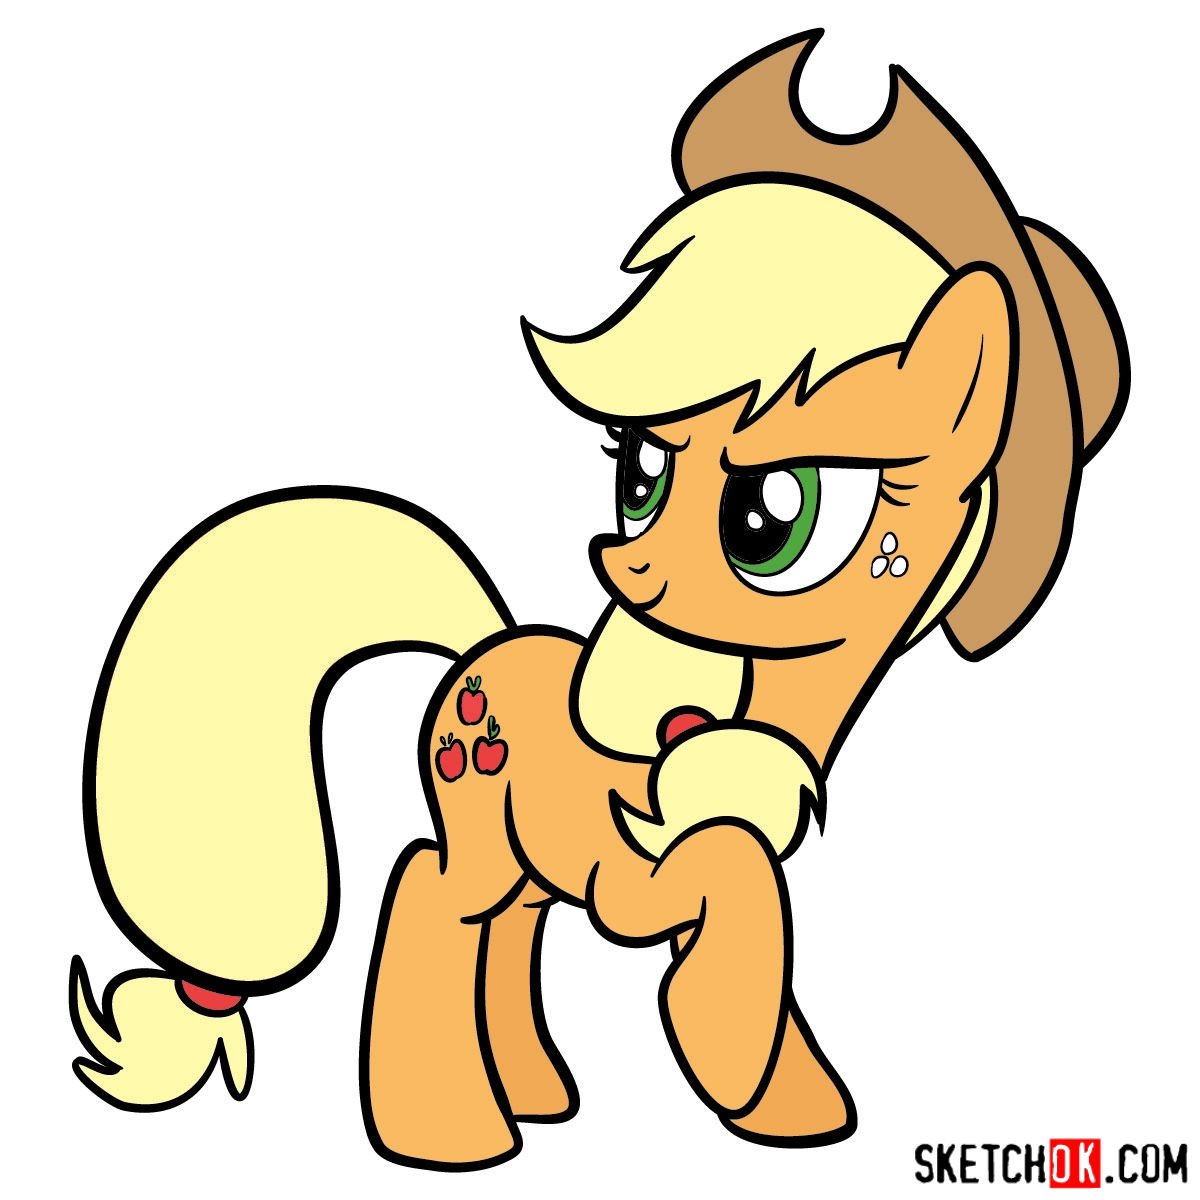
Consider creating themed series, such as a winter wonderland pony with icy tones, a festival pony with bright banners and lanterns, or a mystical forest guardian surrounded by leaves and glowing particles. By playing with background elements and framing, you can tell a tiny story in a single drawing and keep your artwork fresh and engaging.
Practicing and Building Confidence
Like any skill, drawing a My Little Pony becomes more enjoyable and natural with regular practice, so set aside a little time each day to sketch, experiment, and play with new ideas. Keep a small sketchbook dedicated to pony studies, and use it to try different head shapes, mane styles, and poses without worrying about perfection.
Study official artwork, fan creations, and even your own previous drawings to see which techniques you like best, and gently incorporate them into your new pieces. Over time, you will develop a personal style that feels authentic, and your My Little Pony drawing will evolve into heartfelt art that you can proudly share with friends and fellow fans.
Conclusion
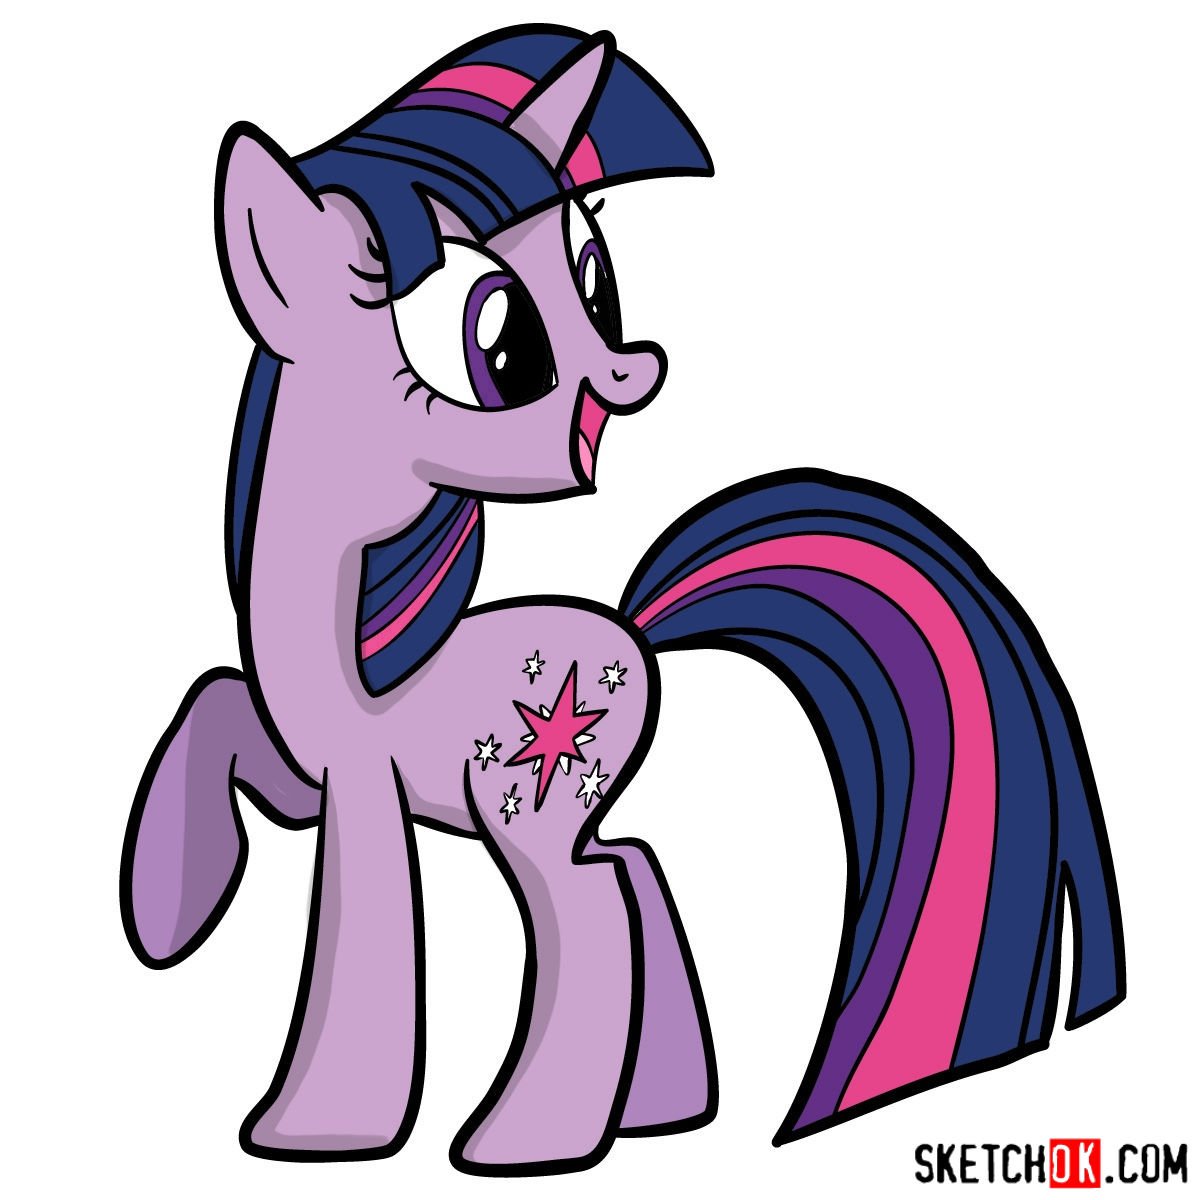
Drawing a My Little Pony is a wonderful way to blend creativity, color, and emotion, turning simple lines into charming characters that brighten your day. By starting with basic shapes, refining the face and mane, choosing expressive colors, and practicing regularly, you can build confidence and develop a style that is truly your own. With patience, imagination, and a playful spirit, every sheet of paper becomes a new adventure in Equestria.
🍎🌈💎 Lady Gaga - Alejandro ( My little Pony ) #mylittlepony #mlp #rarity #rainbowdash #applejack
Program used: Alight Motion and Clip Studio Paint Contact: naomyart.content@gmail.com ╱|、 (˚ˎ 。7 |、˜〵 じしˍ,)ノ ...
